
The three Migration process choices a Generate Admin can make are Staging Migration, RDS Migration, Reports Migration.
The three Migration process choices a Generate Admin can make are Staging Migration, RDS Migration, Reports Migration.

Data Store Migration Selection Buttons
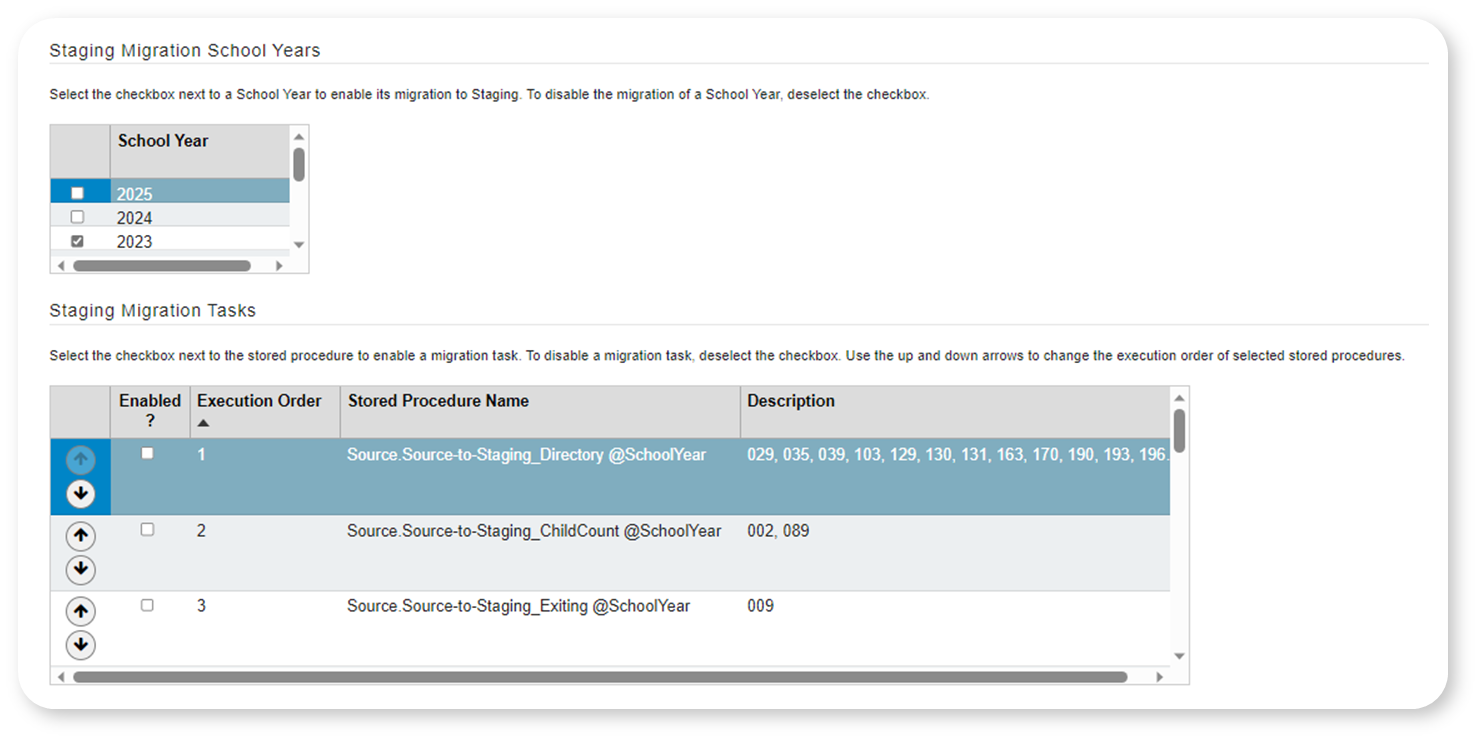
Staging Migration School Years and Staging Migration Tasks
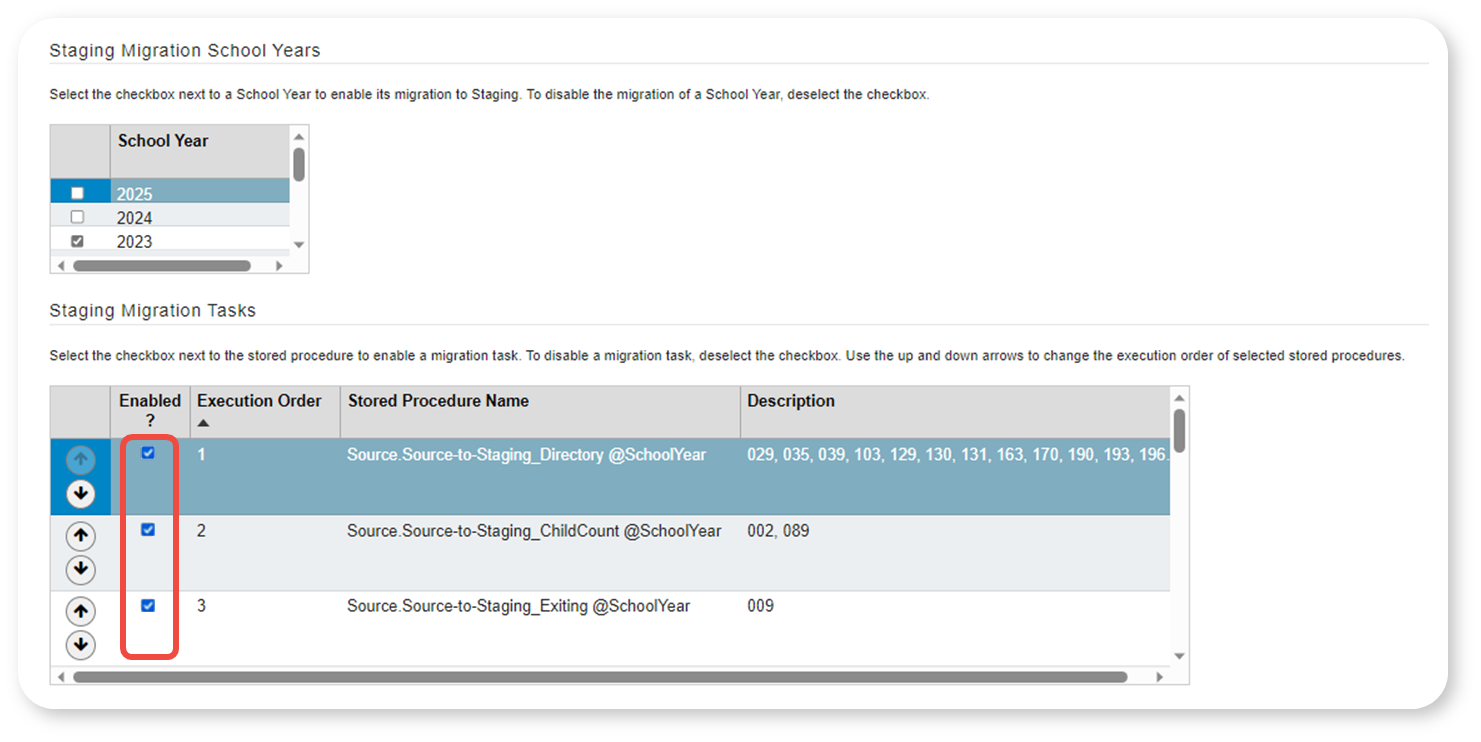
Staging Migration School Years and Staging Migration Tasks with Enabled column highlighted

Staging Migration School Years and Staging Migration Tasks with Execution Order column highlighted
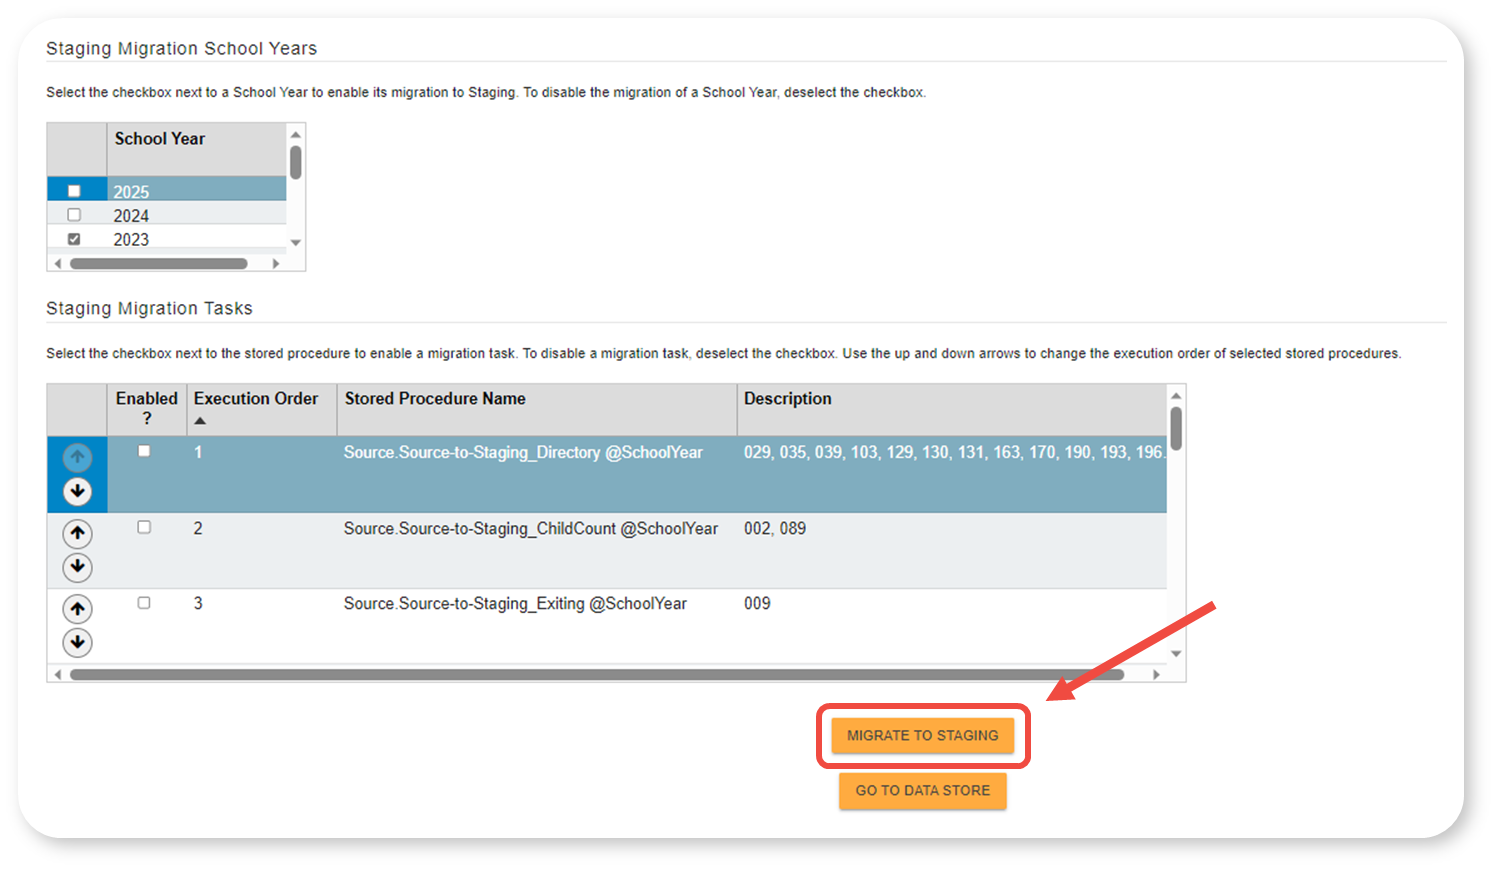
Staging Migration School Years, Tasks, and Migrate buttons with arrow pointing to "Migrate" button
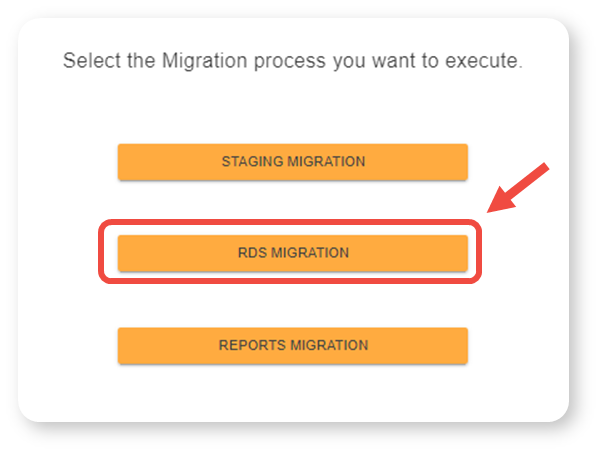
Data Store Migration Selection Buttons with arrow to RDS Migration button

RDS Migration page

RDS Migration School Years and RDS Migration Tasks with Enabled column highlighted
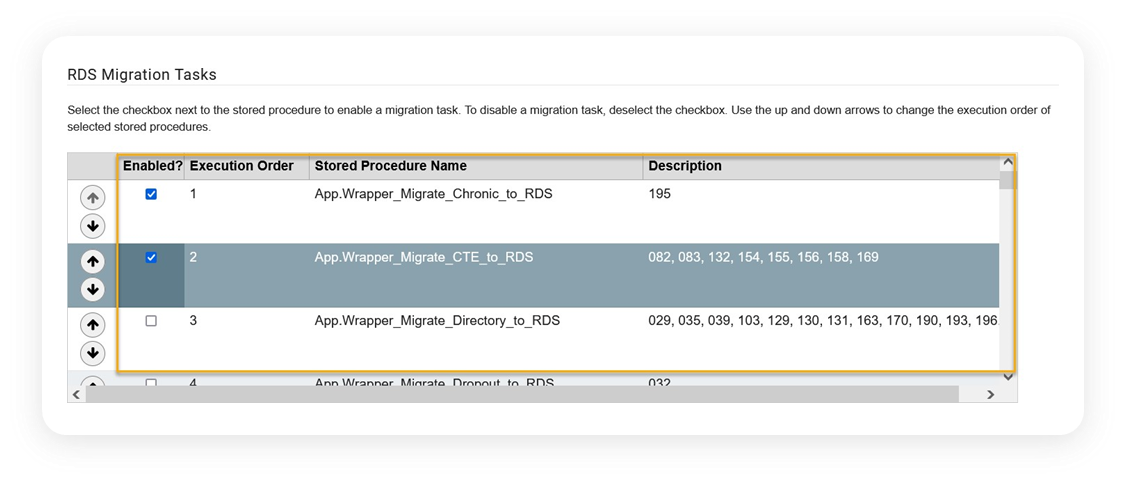
RDS Migration School Years and RDS Migration Tasks with all columns highlighted

RDS Migration School Years and RDS Migration Tasks with arrow pointing to "Migrate" button

Data Store Migration Selection Buttons with arrow to Report Migration button

Reports Migration School Years and Reports Migration Tasks

Report Migration Tasks w/ C002 row highlighted

Report Migration Tasks with "Migrate" and "GO TO DATA STORE" buttons highlighted