
Toggle button
Toggle button

Toggle home page

Question toggle defaults to "No"

Toggle switched to "Yes" in answer to the question.
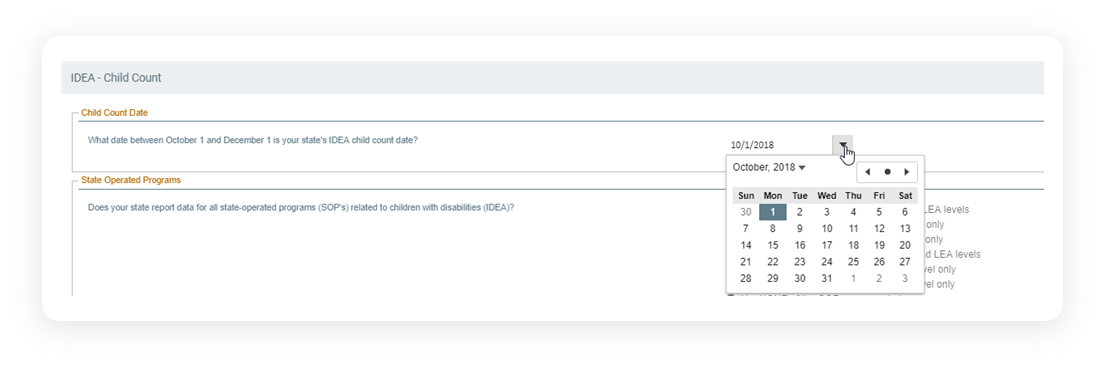
Click on dropdown calendar date to select it.


Toggle button in Setting submenu.

Assessments link

TOGGLE ASSESSMENTS page

Add New Assessment button.

Assessment Type dropdown list of available assessments.
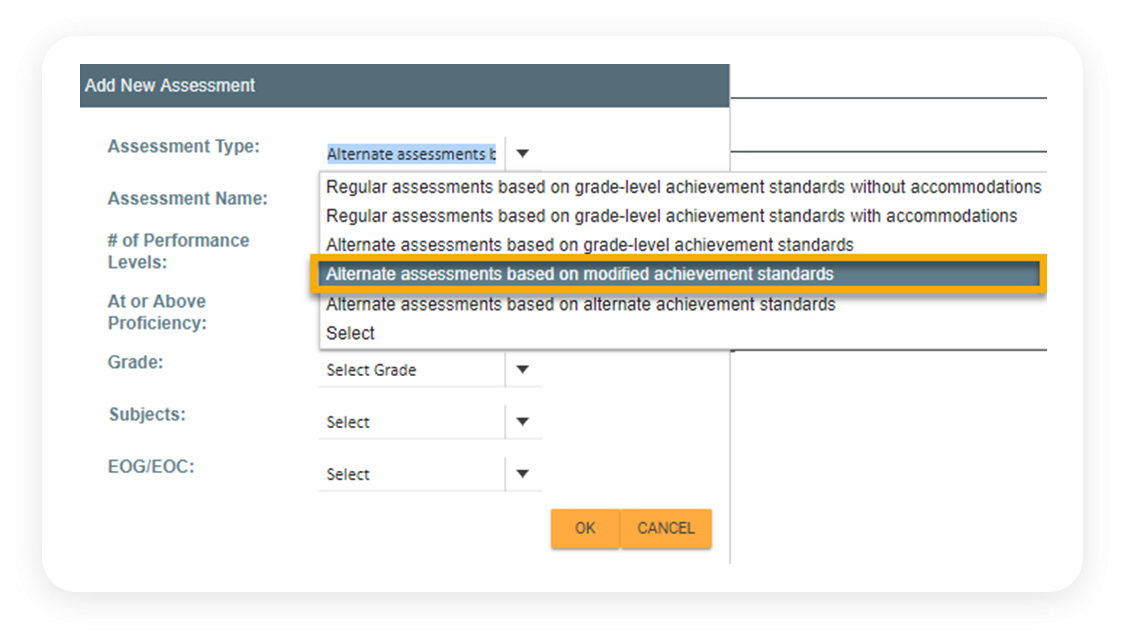
The image shows the selection of “Alternate assessment based on modified achievement standards.”
 You will need to fix the error as shown in the example below and click **OK** again.

When all entries have been entered successfully, the **Assessment** will appear on the “**TOGGLE ASSESSMENTS**” page.
You will need to fix the error as shown in the example below and click **OK** again.

When all entries have been entered successfully, the **Assessment** will appear on the “**TOGGLE ASSESSMENTS**” page.

Assessment appears on the TOGGLE ASSESSMENT page.

Click on the "edit" icon to edit Assessments.

Click on the "delete" icon to delete the Assessment.